Encrypted Arch Linux Installation

Since a few years, I’m a big fan of Arch Linux: Always up to date packages and no major release upgrades, due to its rolling releases philosophy. And minimal installations only packed with the tools you need.
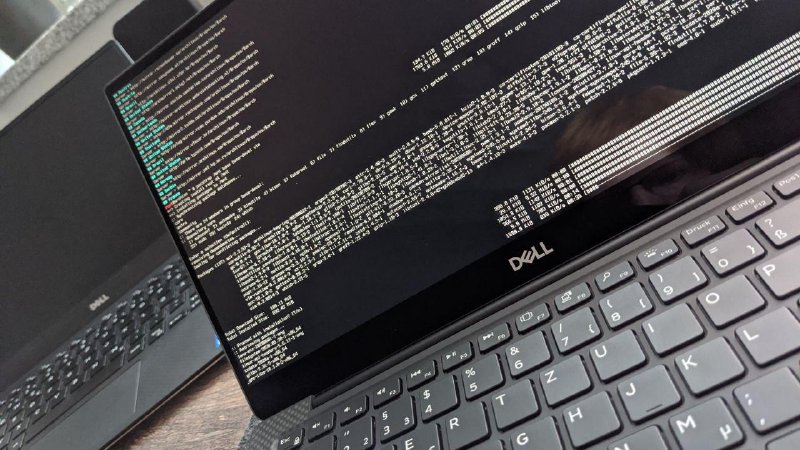
So I’ve got a new device and I had to install it from scratch, including LUKS encryption and the slim systemd-boot.
Foreword
If you encounter any problems, always refer to the original up to date Arch Installation Guide. This post will become out-dated but still may be helpful for certain aspects.
Pre-Installation
Create your live USB stick with dd or Balea-Etcher and a fresh Arch ISO Image and boot into the live environment.
Keyboard Layout
The first thing you may need to do is to set up the keyboard layout. For a german layout, use the following command: loadkeys de.
Available layouts can be listed via ls /usr/share/kbd/keymaps/**/*.map.gz.
Verify UEFI Boot Mode
The next thing you want to check is, that you’re using the UEFI boot mode since we want to use systemd-boot: ls /sys/firmware/efi/efivars
If the command lists the directory, the system is booted in UEFI mode. Perfect :)
Connect to the Internet
You can connect to your wireless network via iwctl:
iwctl
device list
station wlan0 connect YOUR-SSID
Also updating the system clock is a good idea: timedatectl set-ntp true
Partitioning
We will use an LVM partition with the LUKS encryption. First, find out your disk you want to partition: Just use the command lsblk. Your disk should be named like /dev/sda or /dev/nvme0n1.
Creating Partitions
Using gdisk, start gdisk /dev/nvme.... If asked, yes you want to create a new Partition Table. If gdisk doesn’t ask for it, force it by pressing o.
First, we are going to create the boot partition:
- Press
nto create a new partition. - Press
Enterto accept the suggested partition number - Press
Enterto accept the first sector - As the last sector, enter
+512Mto create a 512MB sized partition and pressEnter - As Partition Type, enter
ef00since we want to create an EFI system partition and pressEnter
The second partition will become the encrypted main partition:
- Press
nto create a new partition. - Press
Enterto accept the suggested partition number - Press
Enterto accept the first sector - Press
Enterto accept the last sector, the partition shall use the entire space - As Partition Type, enter
8e00for LVM, and pressEnteragain
After saving your new partition layout, we can format the boot partition with the following command: mkfs.fat -F32 /dev/nvme...p1
Adding Encryption
After creating the LVM partition, we have to encrypt it.
modprobe dm-cryptcryptsetup luksFormat /dev/nvme...p2and set your password- Open the partition again:
cryptsetup open --type luks /dev/nvme...p2 lvm
Creating more Volumes
Now we can partition the LVM partition and add volumes.
pvcreate /dev/mapper/lvmvgcreate main /dev/mapper/lvm- Create a swap volume:
lvcreate -L18G main -n swap. A recommended size is to use your amount of RAM + 2GB - Create your main volume:
lvcreate -l 100%FREE main -n root
Note: I don’t use a dedicated home volume. You may want to create your root volume with a smaller size (for example 40G) and give your home volume 100%FREE space.
Now we can format the new volumes:
mkswap /dev/mapper/main-swapmkfs.ext4 /dev/mapper/main-root
Mounting the Partitions and Volumes
mount /dev/mapper/main-root /mntmkdir /mnt/bootmount /dev/nvme...p1 /mnt/bootswapon /dev/mapper/main-swap
Installation
Start the installation by installing the basics to your new environment:
pacstrap /mnt base base-devel linux linux-firmware lvm2 man-db man-pages texinfo vim
Note: If you need wifi, you should add iwd or wpa_supplicant. You will need the additional package lvm2 later :)
Fstab
Generate your fstab file with the following command: genfstab -U /mnt >> /mnt/etc/fstab
Initial Setup
Now chroot into your new installation: arch-chroot /mnt. From now on, we will work inside your new system.
Setting the Time Zone
You may want to change Europe/Berlin to your time zone:
ln -sf /usr/share/zoneinfo/Europe/Berlin /etc/localtime
Localization
Edit /etc/locale.gen and uncomment en_US.UTF-8 UTF-8 and other locales you need. Then generate them via locale-gen.
Now create the file /etc/locale.conf and set the LANG variable to your desired and generated default locale. In my case LANG=de_DE.UTF-8.
Create another file called /etc/vconsole.conf and enter your default keyboard layout: Again, in my case: KEYMAP=de
Network Configuration
Now the hostname: Enter your desired hostname in /etc/hostname (for example “my-laptop”) and edit the hosts file /etc/hosts accordingly:
# Static table lookup for hostnames.
# See hosts(5) for details.
127.0.0.1  localhost my-laptop
::1        localhost my-laptop
127.0.1.1  my-laptop.localdomain my-laptop
Enabling En/Decryption on Boot
Before we create the initramfs, we have to edit the HOOKS variable. Edit the file /etc/mkinitcpio.conf and look for the HOOKS variable. We have to place the keyboard before the filesystem and add encrypt and lvm in-between.
It should look similar to this now:
HOOKS="base udev autodetect modconf block keyboard encrypt lvm2 filesystems fsck"
Initramfs
Create the initramfs via mkinitcpio -P.
Bootloader
To install the systemd-boot bootloader, call bootctl --path=/boot/ install.
Now edit the file /boot/loader/loader.conf to select the arch profile as default:
default arch
editor 0
Afterwards, create the arch profile in /boot/loader/entries/arch.conf:
title Arch Linux
linux /vmlinuz-linux
initrd  /initramfs-linux.img
options cryptdevice=/dev/nvme...p2:main root=/dev/mapper/main-root resume=/dev/mapper/main-swap lang=de locale=de_DE.UTF-8
You have to change the device, lang, and locale here for your needs.
Root Password
At last, define a root password via passwd and you are done. At least almost…
Post-Installation (IMPORTANT)
In the previous steps, you’ve installed a somewhat basic Arch Linux. You have to add more packages before you reboot into your system if you want to connect to the Internet, etc. :)
See the Arch Linux General Recommendations for more information.
Reboot into your Installation
Exit the chroot environment via exit. Unmount via umount -R /mnt and finally reboot.
Have fun with your new Arch Linux system. <3
